Adding images to an event
Overview
To set up images on your event in order to enhance its branding/appearance, or upload photos of the event to show your attendees after it has finished you should open the appropriate event and click on the "Imagery" tab:
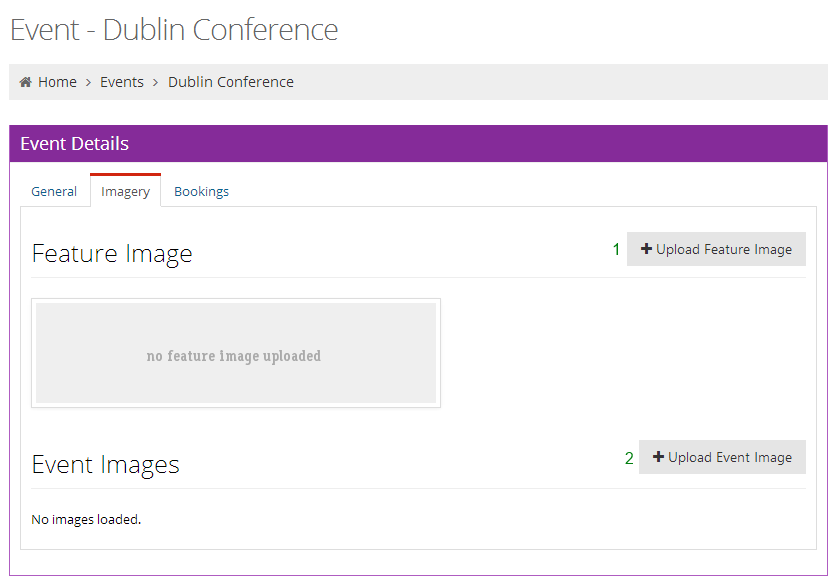
1. Adding a feature image to an event
Adding a feature image is strongly recommended to help enhance the appearance of the registration site.
Once uploaded, a feature image will be displayed at the top of the registration site.
Please note - you'll need a high quality image (at least 1170 pixels wide) to use as a feature image. If you're having an image created especially for your product, we suggest targeting 1170 x 293 pixels.
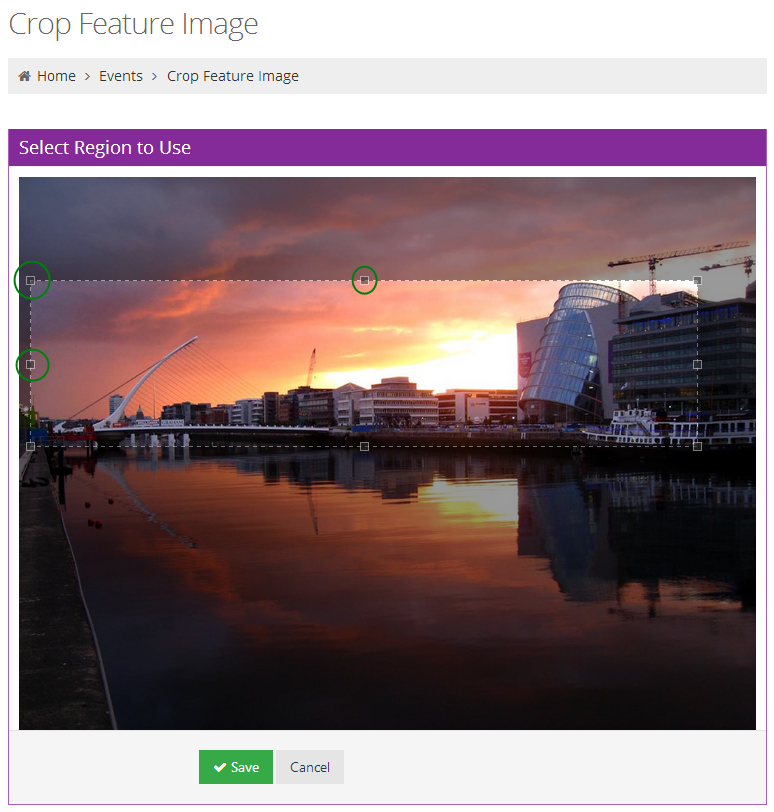
Cropping a feature image
After uploading a file to use as a feature image, you will then be redirected to a tool which you can use to crop the image so that it short and wide. This is necessary because of where the image is displayed as a "banner" over the event site.
Once the tool has loaded, use the small boxes on the corners and sides of the cropping rectangle to select the part of the image you want to use as as demonstrated here:
2. Adding an event image
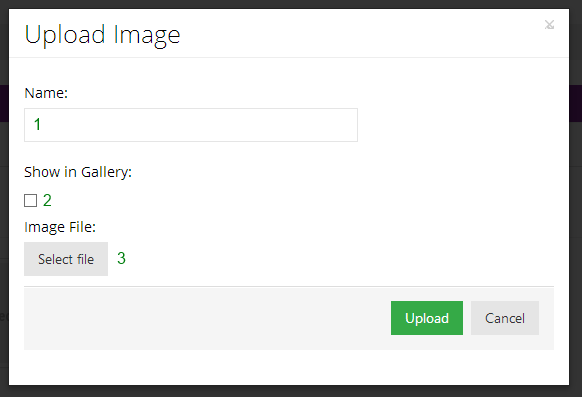
1. Name. The name of an image can be recorded, and for "gallery" images provides a title.
2. Show in Gallery. This determines whether the image will be showed in the customer-facing event site. This can be useful for adding appeal to the event site prior to the event, but also a good place to upload photos of the event itself for your customers to see afterwards.
As well as being shown in the gallery, images can be uploaded and hosted by Intellibook for use elsewhere - see how you can upload images for other purposes here.
3. Image File. You need to select an image file to upload - for example a GIF, JPEG, PNG etc.